 Most of the people prefer buying pre-matured
saplings from
outside. But, enjoying the yield
starting from a seed to fruit/vegetable will make you special and more happy
than any other gardener! In this post, I
will try to cover the basic things about germinating the seeds and getting
healthy saplings by the general process which I follow.
Most of the people prefer buying pre-matured
saplings from
outside. But, enjoying the yield
starting from a seed to fruit/vegetable will make you special and more happy
than any other gardener! In this post, I
will try to cover the basic things about germinating the seeds and getting
healthy saplings by the general process which I follow.
Basic
things you require:
Seedling trays
Medium (Cocopeat and Compost)
And ofcourse, Seeds!
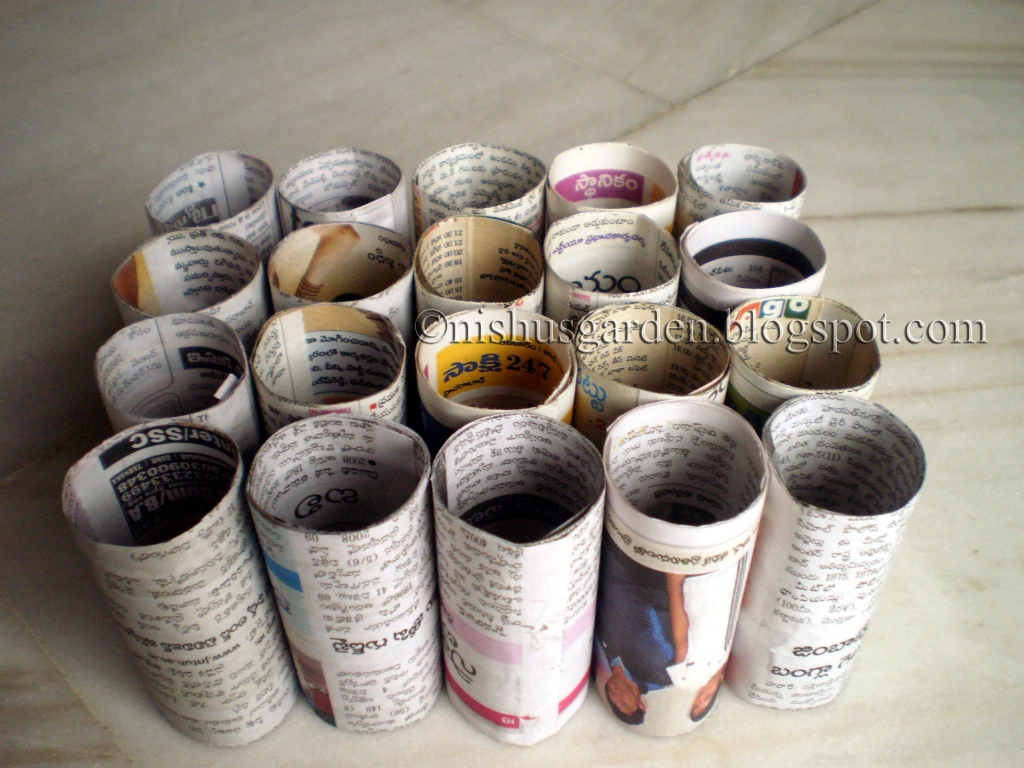
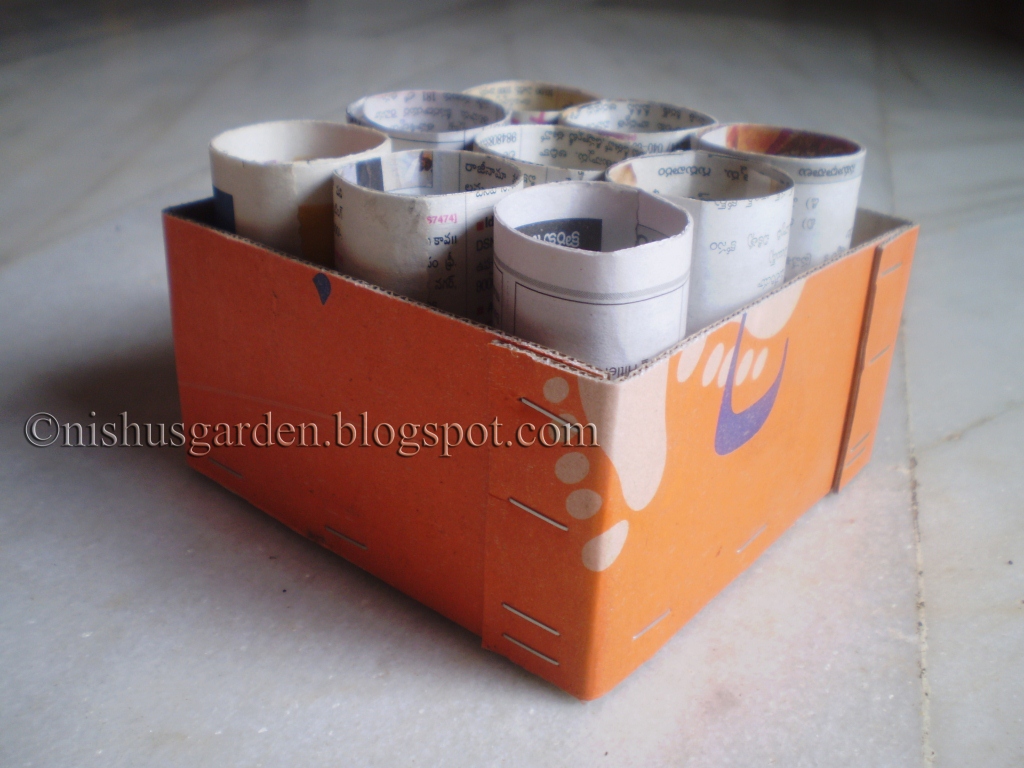
Seedling trays – It will be good if you are able to get
these trays, don’t worry if not! You can even use Paper cups/Raised soil
beds/Container. Using Seedling trays
gives you an added advantage on few factors like..
·
Holds the moist for longer time. If you are using raised beds or containers,
water will be drained to the bottom, leaving your top portion dry. So you need to check and water on time to
time.
·
Less medium is required compared to the
other methods (raised beds/containers)
·
Most importantly, transplantation is easy!
you just need to pull each sapling(along with medium) and sow in
container/ground without disturbing the roots which helps for faster
adjustment and survival of roots and plant.
·
You can check on seed germination
rate. It helps you understanding success
rate of your seed source
Process:
Soaking
the seeds – This helps in
quicker germination of seeds. You need
to soak the seeds(hot water preferred) over a night or one day, depending on
the seed type. If you feel that the shell is little harder, then you can soak
them for one day.
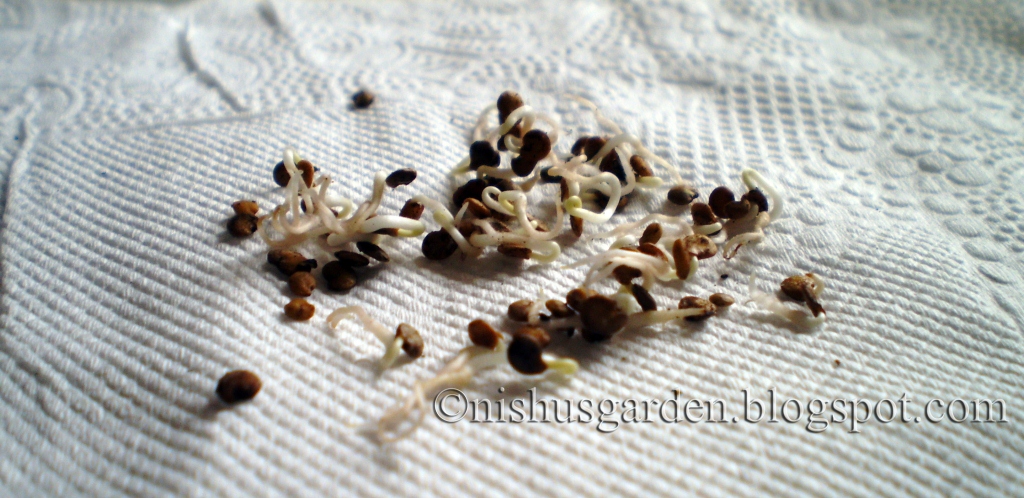
Soaking the seeds - Tomato, pepper, Brijlal and Cabbage.
Now, take out the seeds from water and wrap in a wet
tissue paper/cloth. Over water leads to seed
rot. So, make sure the seeds are just
moist all the time. You can
seal the wrapped seeds in a zippo bag or you can place
them in container as I did.
Cucumber and some
gourds, few of them still struggling to come out of the shell!
Brinjol
sprouts
For sowing, you can wait till you see the sprouts or you
can sow them in medium after couple of days.
Preparing
Medium – Cocopeat and Compost
at 1:1 ratio is an ideal medium for seedling trays. The composition is very loose/porous and
light weight leading to easy root growth/spread which helps in faster and
healthier plant growth. Cocopeat helps
in holding the moist for longer time and Compost supplies the nutrients
required for the plant growth.
Cocopeat
and Compost.. make sure it is just moist! Over water will rot the sprout
In case if Cocopeat and compost is not available, you can
use Soil + Dry Cowdung + Rice husk(optional) as your medium at 1:1:2
ratio. Rice husk helps in holding the
moist for a longer time.
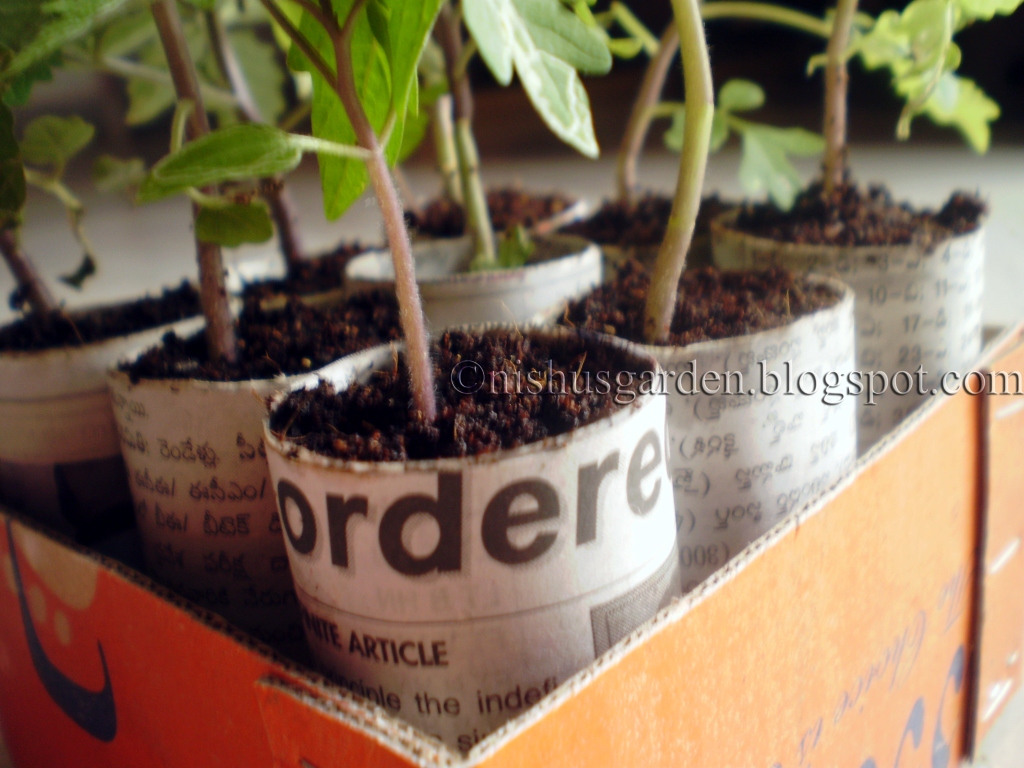
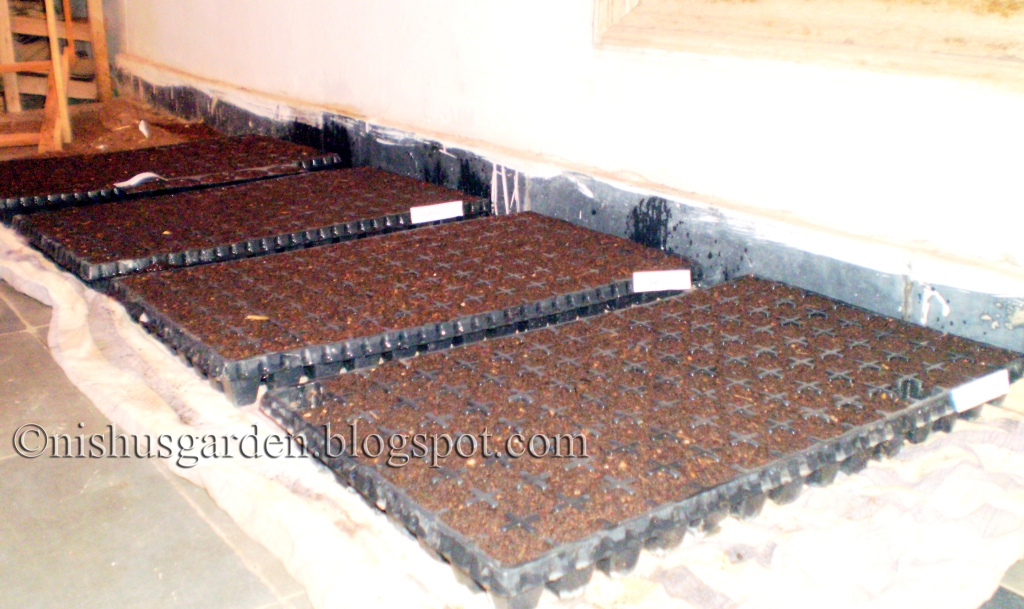
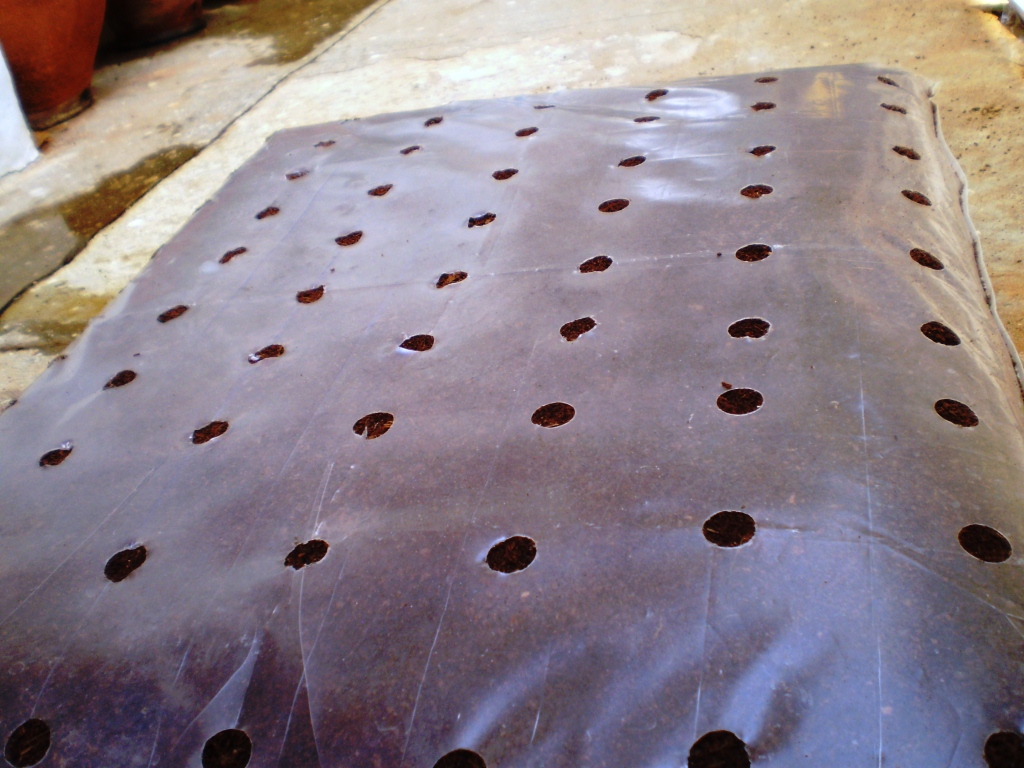
Fill the trays with the medium and make holes of ½ inch in
each cup and sow the seeds. You can cover
the top of tray/container with transparent polythene sheet(optional, this is
for holding the moist) and place the trays in shady area and count the days!!
Trays
ready for sowing J
You
can wait till you see the sprouts or you can sow the seeds after soaking for couple
of days
All set.. just wait and
watch !
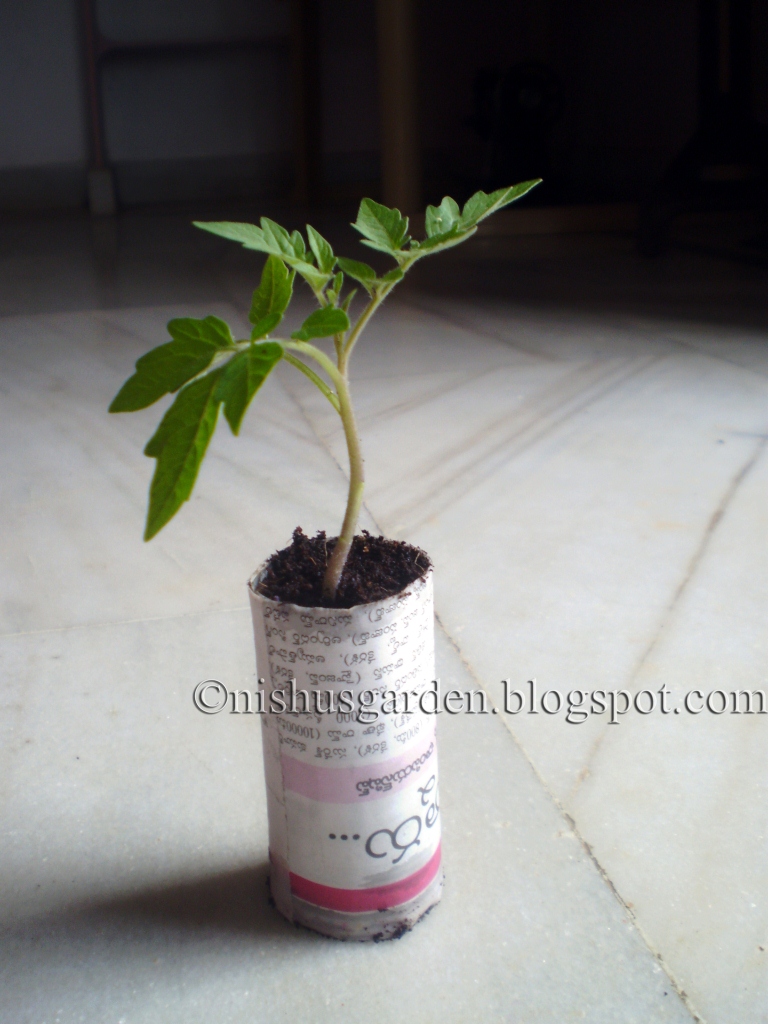
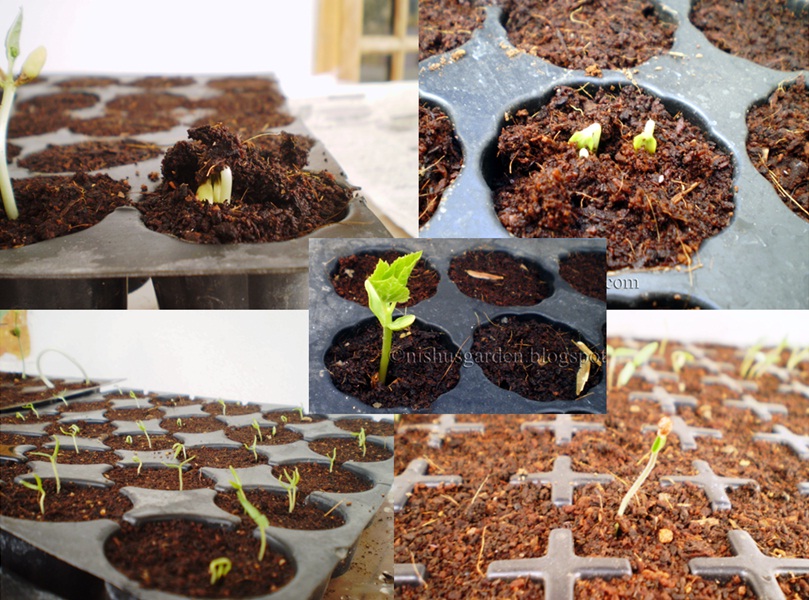
Welcome to the new
world!
It’s a wonderful feeling watching
the new leafs trying to come out of the medium.
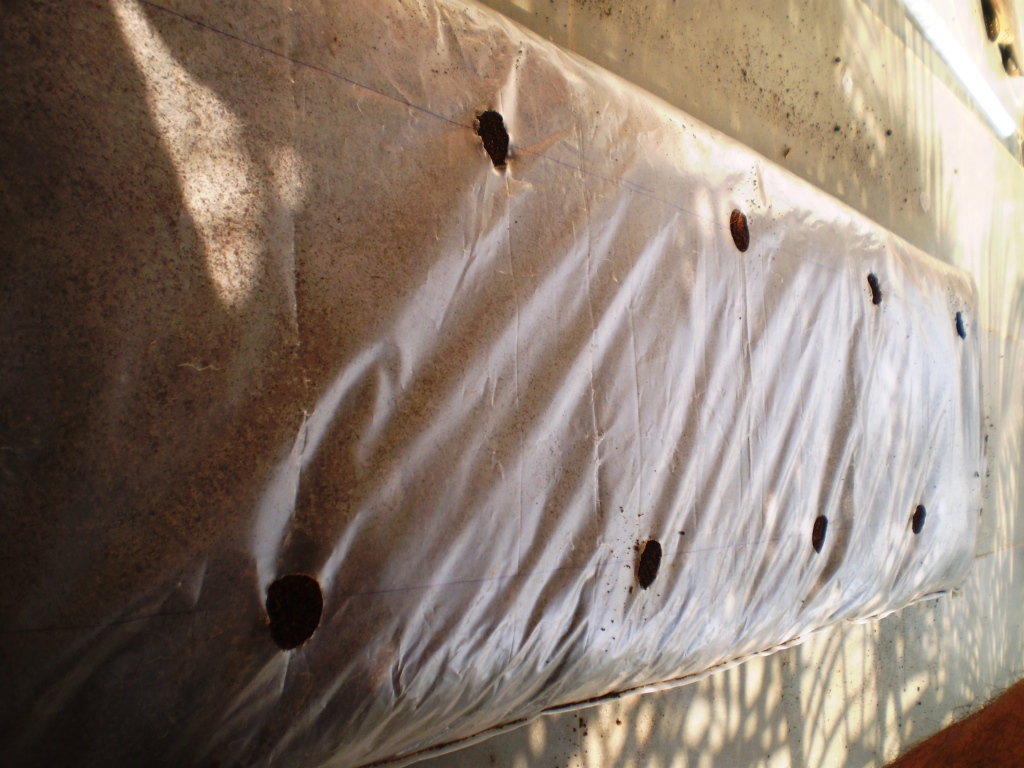
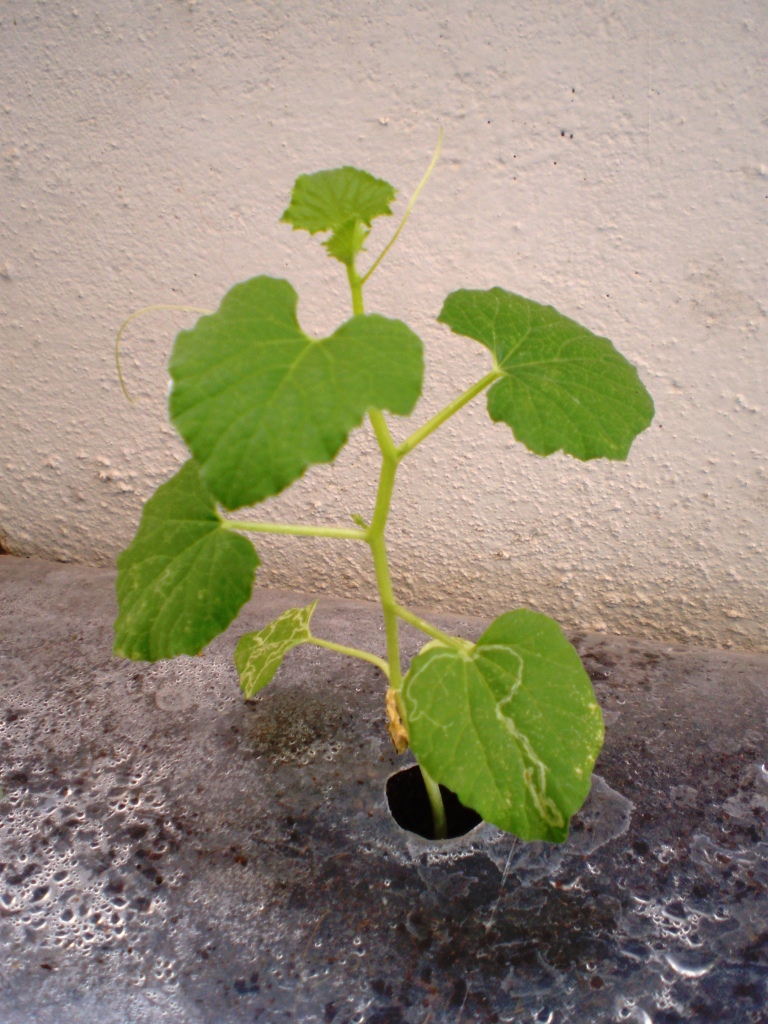
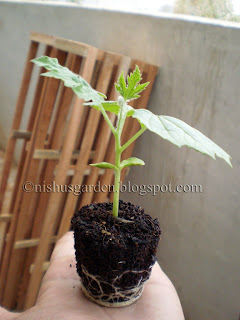
Transplant
– Once
you see the true leaves(the actual ones other than first two round leafs),
gradually you need to expose these plants to sun. First two days, expose to sun for an hour and
gradually increase the time till you find these stress free. Now you can transplant these in to the
growing container/ground. Evenings are
the best time for transplant. Do not
water the plants before transplanting, make sure the medium is just moist so
that the plant roots come out like scoop along with the medium (as seen below)
without disturbing the root set. Place
the pot in partially shaded area for couple of days and then you can move to
the required location. This helps in reducing
the stress on plant till the roots settles down in new medium.
Sow only one or two
seeds in each cup, if not.. this is where you end up! With all the root spirals, Separating the
seedlings is really a difficult task.
Sometimes you may loose few plants in this process! So be careful.
I made a closed room
with wood and polythene sheet to place all my trays. This helps me in protecting from wind and
keeping the medium moist for longer time.
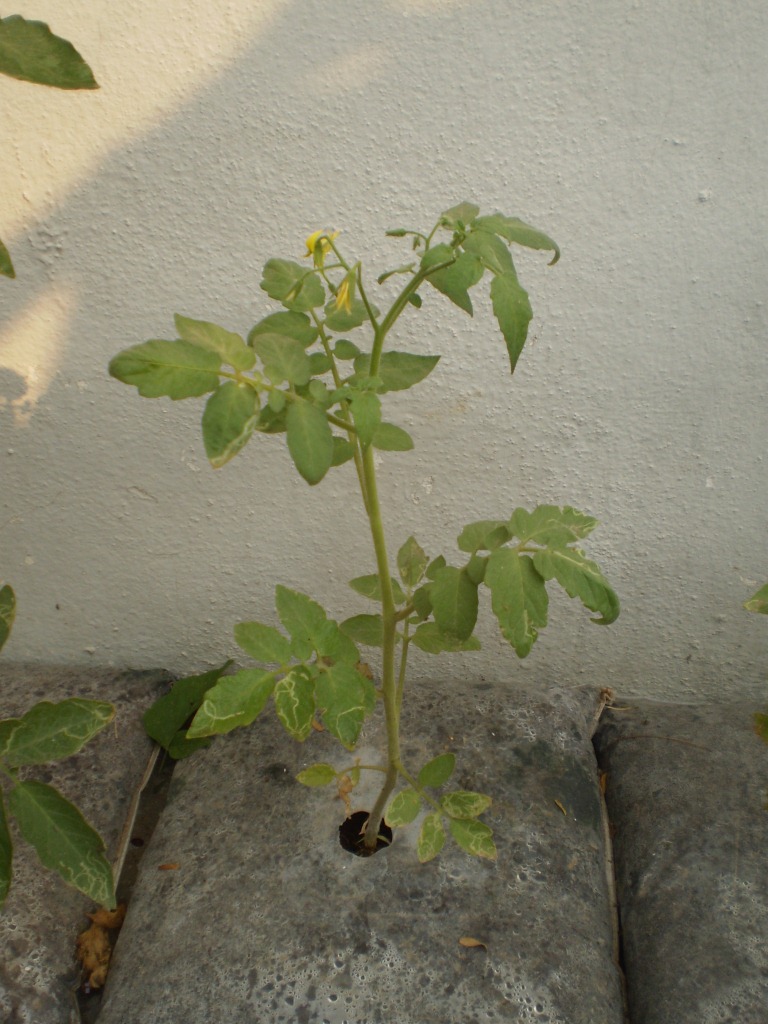
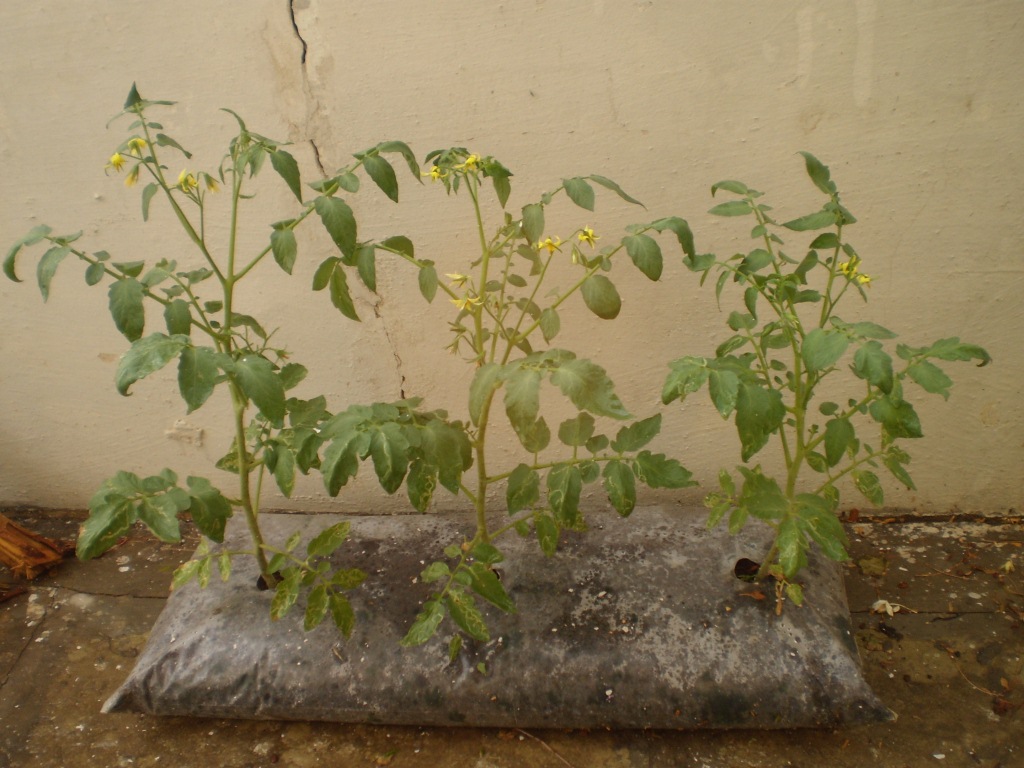
Finally..transplanted the seedlings
placed in partial Sun
Hope this post helped you gaining knowledge on Seed
Germination Process!
Good luck!!
-Nisar